You can move from harsh overhead-only lighting to a warm, layered ambient setup in one weekend. The formula is straightforward: put your overhead on a dimmer, add two lamps with warm 2700K bulbs, and place one accent source. That combination alone changes how a room feels by evening.
Quick-start checklist:
- Buy two lamps (one floor, one table) and a pack of dimmable A19 LED bulbs rated 2700K–3000K
- Install an LED-compatible dimmer on your existing overhead fixture
- Add a smart plug or inline dimmer to your new lamps for scene control
Time and cost estimate: A starter setup takes one weekend. Budget roughly $80–$150 for two mid-range lamps, $15–$30 for a dimmer switch, and $10–$20 for a four-pack of warm LED bulbs. A more complete layered setup with accent lighting runs $200–$400 depending on fixture choices.
Table of Contents
- What is ambient lighting, and how does it differ from other types?
- Why switch? The real benefits of layered ambient lighting
- How do you layer light effectively in any room?
- Room-by-room recommendations for ambient lighting
- How to plan your transition step by step
- Which bulbs, dimmers, and controls actually matter?
- Common mistakes DIYers make when switching to ambient lighting
- Products from LightsThings to help you make the switch
- Safety considerations when modifying your lighting setup
- How to evaluate your existing overhead fixtures
- Choosing fixtures and lamps that work together
- Maintenance tips for your ambient lighting setup
- Key Takeaways
- The thing most people get wrong about ambient lighting
- LightsThings has everything you need to get started
- Useful sources and further reading
What is ambient lighting, and how does it differ from other types?
Ambient lighting is the base layer of any room’s illumination plan. Its job is to provide soft, even general light so the space feels comfortable and navigable without relying on a single bright source. Think of it as the room’s background glow rather than its spotlight.
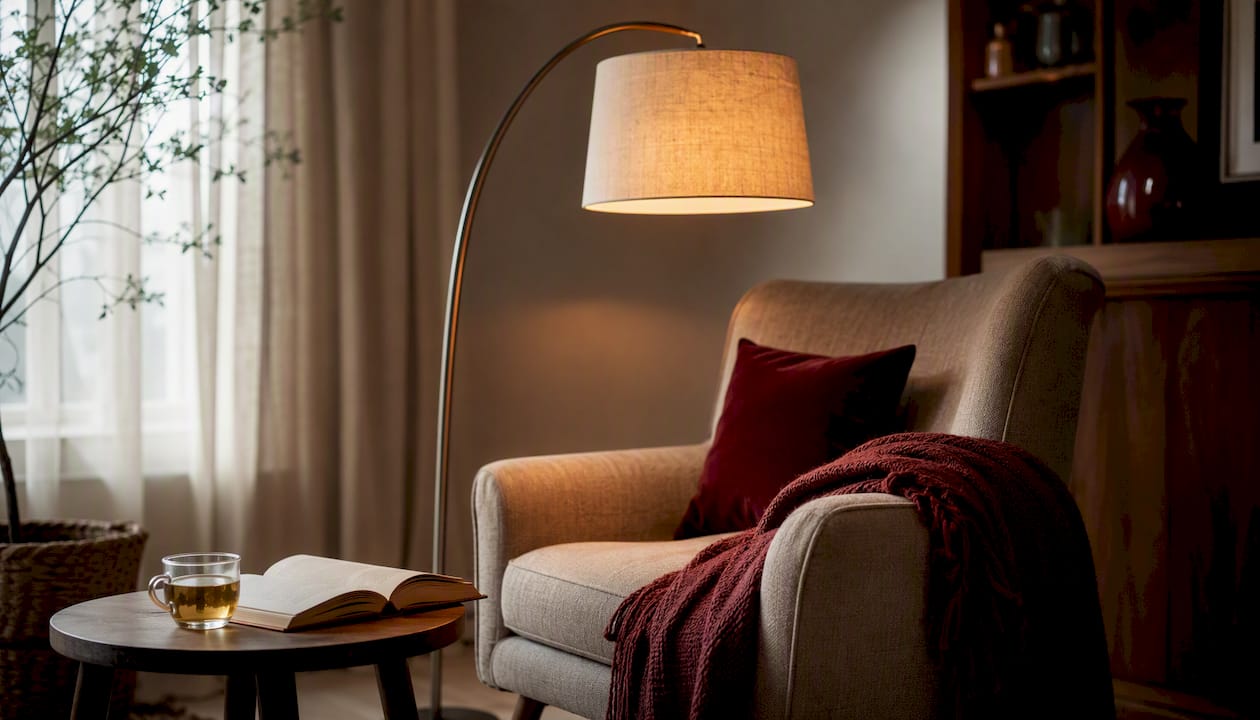
Overhead lighting, by contrast, is a single downward source. It covers the ceiling-to-floor plane but tends to flatten surfaces and cast unflattering shadows on faces and walls. Ambient lighting distributes that same total light across multiple lower-intensity sources, wrapping the room rather than blasting it from above.
Task lighting is focused and intentional: a reading lamp, under-cabinet strips, or a desk light. Accent lighting adds depth by highlighting a piece of art, a bookshelf, or an architectural feature. Ambient is the foundation; task and accent build on top of it.
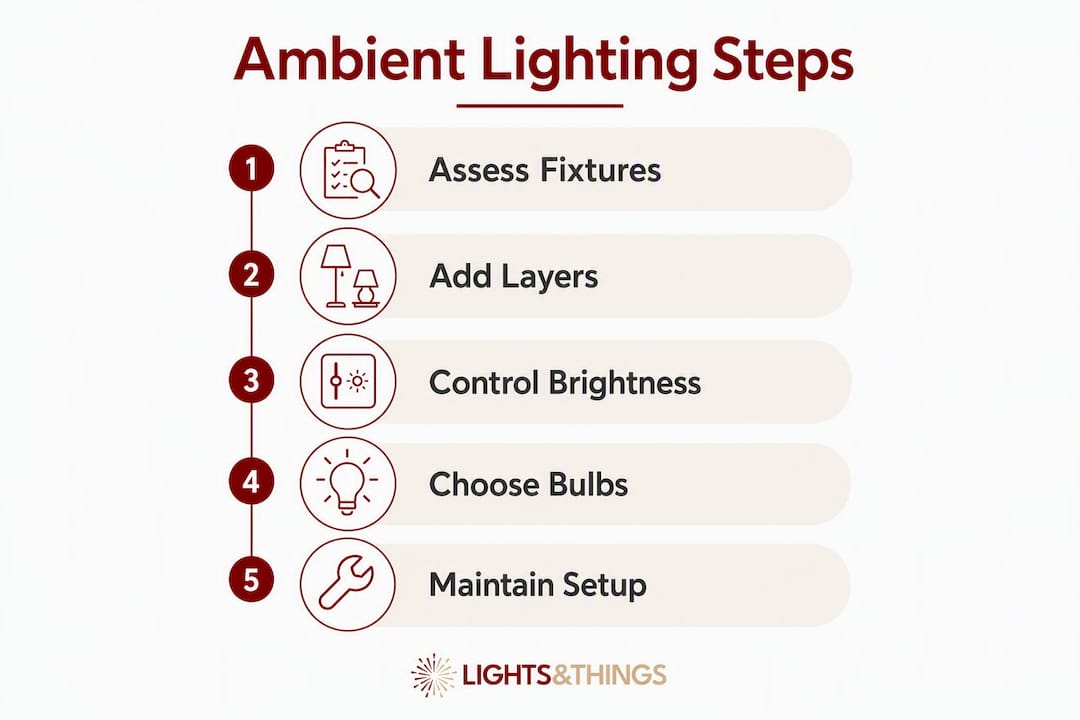
Pro Tip: Don’t treat your overhead fixture as the enemy. A dimmable overhead can serve as one layer of ambient light when it’s turned down to 30–40% of its maximum output. The goal is control, not removal.
Why switch? The real benefits of layered ambient lighting
The most immediate benefit is comfort. Ambient lighting prevents visual fatigue by giving your eyes a stable baseline, so they aren’t constantly adjusting between a bright overhead pool and deep surrounding shadows. That constant micro-adjustment is exhausting, even when you don’t notice it consciously.
Beyond eye comfort, the benefits stack up quickly:
- Mood and atmosphere: Warm, distributed light signals relaxation. Overhead-only rooms often feel like offices or waiting rooms after dark.
- Flexibility: Multiple lower-intensity sources let you dial up for tasks and dial down for evenings or entertaining, without rewiring anything.
- More flattering interiors: Lamps at eye level and below restore depth and shadow that downlighting removes, making furniture, textures, and colors read more richly.
- Energy savings: Dimmable LEDs running at 50–70% output draw significantly less wattage than a non-dimmable incandescent overhead at full blast.
Lighting designers recommend at least four light sources in a living room: one ambient overhead, two table or floor lamps, and one accent. That rule of four is a practical baseline, not a luxury standard. It applies to most medium-sized rooms and scales up from there.
How do you layer light effectively in any room?
Layering means placing light at three vertical bands: overhead, eye level (roughly 4–5 feet), and low (floor level or below furniture height). Downlighting alone flattens a room visually; adding sources at lower heights restores the sense of depth and warmth that makes a space feel lived-in.
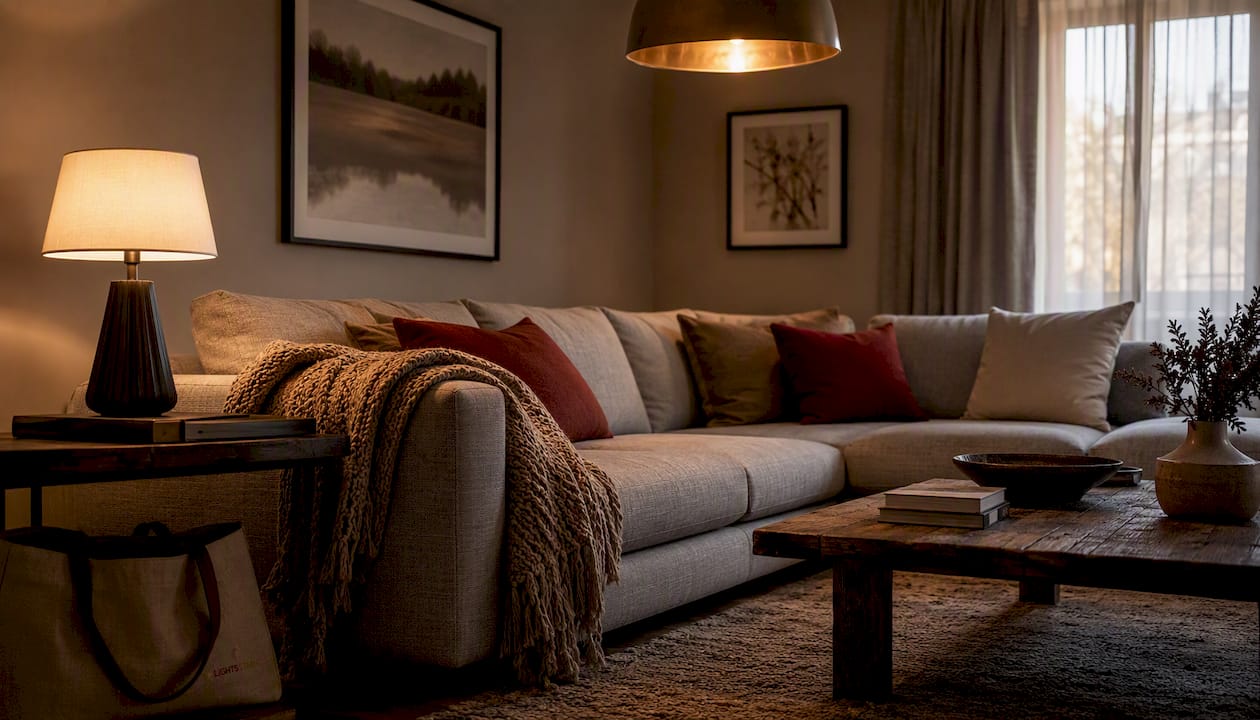
The three-layer model works like this. Ambient handles the overall glow, task lighting covers specific work zones, and accent lighting adds dimension by drawing attention to focal points. Each layer serves a distinct purpose, and removing any one of them makes the others feel incomplete.
For a 12x15 living room, plan for at least four sources: one dimmable overhead, one floor lamp near the sofa, one table lamp on the opposite side, and one accent source (an uplight behind a plant, a picture light, or an LED strip behind the TV). Larger rooms benefit from five or six sources.
Pro Tip: Aim for your lamps to produce roughly 25–50% of your overhead fixture’s maximum lumen output. That ratio lets you dim the overhead low while the lamps carry the room, creating a genuinely warm scene rather than a dim, flat one.
For a conversation area, place lamps at seated eye level on either side of the seating group. A reading nook needs one directional task lamp plus a softer ambient source nearby. A TV wall benefits from a bias light behind the screen (a warm LED strip) to reduce contrast fatigue during viewing.
Room-by-room recommendations for ambient lighting
Living room
The living room is where the rule of four pays off most visibly. Start with a sofa-side table lamp and a floor lamp on the opposite side of the seating group to balance the light across the conversation zone. Put the overhead on a dimmer and treat it as fill light, not the main event. Add a single accent source, such as an uplight in a corner or a picture light over artwork, to complete the layer.
- Dimmable overhead (set to 30–40% in the evening)
- Table lamp, sofa-side (2700K A19 bulb)
- Floor lamp, opposite corner or reading zone
- Accent: uplight, picture light, or LED strip behind TV
Kitchen and dining
Keep task-focused overhead lighting over counters and the prep zone; this is where you actually need bright, directed light for cooking. Over the dining table, swap a standard overhead for a pendant on a dimmer so you can shift from bright family dinners to softer evening meals. Under-cabinet LED strips at 2700K–3000K handle counter tasks without the overhead doing all the work.
Bedroom
Bedside table lamps with 2700K bulbs are the single highest-impact change you can make in a bedroom. They let each person control their own light level, and warm light at that hour supports winding down. Keep the overhead on a dimmer for the occasional need to see the whole room clearly. Symmetrical placement, one lamp per nightstand, creates a sense of calm order that asymmetrical setups rarely match.
How to plan your transition step by step
Starter weekend plan
- Test your bulbs first. Swap one overhead bulb for a dimmable 2700K A19 LED and live with it for an evening before buying in bulk.
- Add two lamps. Place a floor lamp and a table lamp in the room you use most. Plug them in and turn the overhead off to see how the room reads with lamp-only light.
- Install a dimmer. Replace the overhead switch with an LED-compatible dimmer (look for “LED/CFL compatible” or “universal dimmer” on the packaging). This is a 20-minute DIY job for most standard single-pole switches.
- Set an evening scene. Dim the overhead to about 30%, turn on both lamps, and add your accent source. Adjust until the room feels right.
Mid-term steps (weeks 2–4)
- Add accent lighting: an uplight, a picture light, or a warm LED strip
- Unify bulb color temperatures across all fixtures in the room
- Manage cords with cable clips or a cord cover to keep the setup clean
- Add smart plugs to your lamps for scene control from your phone
Longer projects
Hardwired dimmers, new sconce circuits, or cove lighting require opening walls or ceilings. Hire a licensed electrician for any work involving new circuits, junction boxes, or panel connections. The National Electrical Code (NEC) governs residential wiring in the U.S., and unpermitted electrical work can affect homeowner’s insurance and resale inspections.
Cost and time estimates
| Item | Ballpark cost | Time to install |
|---|---|---|
| Dimmable A19 LED bulbs in a standard pack with 2700K color temperature have an affordable cost and quick installation time. | ||
| LED-compatible dimmer switches are available at reasonable prices and take less than half an hour to install. | ||
| Mid-range table lamps offer a range of prices and are quick to set up. | ||
| Mid-range floor lamps vary in cost and are straightforward to install. | ||
| Smart plugs cost a moderate amount and can be installed quickly. | ||
| Accent uplights or picture lights come at various costs and require a brief installation period. |
Which bulbs, dimmers, and controls actually matter?
Color temperature is the single most important spec to get right. Warm residential spaces need bulbs in the 2700K–3000K range; anything above 3000K starts to feel clinical. For living rooms and bedrooms, 2700K is the sweet spot. Kitchens can go to 3000K for a slightly crisper look while staying warm.
CRI (Color Rendering Index) measures how accurately a bulb renders colors compared to natural light. A CRI of 80 or above is the practical minimum for residential spaces; 90+ is worth the small price premium in rooms where you want fabrics, artwork, and skin tones to look their best.
For dimmers, the packaging matters. Look for “LED/CFL compatible” or “universal dimmer” explicitly on the box. Standard incandescent dimmers often cause LED bulbs to flicker or buzz at low settings. Lutron and Leviton both make widely available LED-rated dimmers in the $15–$30 range.
Pro Tip: Before buying a full set of smart or dimmable bulbs, test one bulb in the actual fixture you plan to use. Some LED bulbs flicker with certain dimmers, and a $5 test saves a $50 return.
Mixing color temperatures in the same room is one of the most common mistakes. A 2700K table lamp next to a 4000K overhead creates a visual tension that most people can’t name but everyone notices. Keep all sources in a single room within the same Kelvin range.
Common mistakes DIYers make when switching to ambient lighting
Most problems come down to placement and temperature, not the number of fixtures.
- Relying only on overhead, even dimmed. A dimmed overhead alone is still a single source. You need lamps at lower heights to fill the room properly.
- Mixing 2700K and 4000K bulbs in the same space. The room will feel “off” in a way that’s hard to diagnose. Match Kelvin ratings across every fixture in the room.
- All lamps at the same height. Three table lamps at identical heights create a flat, repetitive look. Vary between floor lamps, table lamps, and low accent sources.
- No task lighting. Ambient light alone makes reading and cooking uncomfortable. Keep at least one directed task source in every functional zone.
- Skipping dimmer compatibility. A non-dimmable LED in a dimmer circuit will flicker, buzz, or fail early. Always confirm the bulb is rated for dimming before installing.
Pro Tip: For pendant fixtures and overhead lights, the standard placement guideline puts the bottom of the fixture at roughly 7 feet from the floor in a living area, and 30–36 inches above a dining table surface. That height keeps the fixture out of sightlines while directing light where it’s needed.
Products from LightsThings to help you make the switch
The right product mix for a starter ambient setup covers four categories: a table lamp, a floor lamp, warm dimmable bulbs, and a dimmer or smart plug. Here’s what to check before you buy:
- Table lamps: Look for a shade that diffuses light downward and outward rather than directing it straight down. Check the base footprint against your surface size, and confirm the socket accepts a standard A19 bulb. LightsThings’s table and floor lamp collection covers a wide range of styles from accessible to statement pieces.
- Floor lamps: Torchiere-style floors lamps bounce light off the ceiling for soft ambient fill. Arc lamps work well over a reading chair. Review floor lamp types to match the style and function to your room.
- Dimmable A19 LED bulbs (2700K): Confirm the packaging says “dimmable” and check the Kelvin rating. A 60W-equivalent A19 at 2700K is the standard choice for table and floor lamps in living rooms and bedrooms.
- Decorative pendants: Over a dining table or in an entryway, a pendant on a dimmer replaces a flat overhead with something that has visual presence. LightsThings carries decorative pendants and chandeliers across multiple style categories.
- Smart plugs: A $15 smart plug turns any lamp into a scene-controlled source you can group with your overhead dimmer for one-tap evening scenes.
For a starter bundle approach, pair one table lamp with a warm A19 bulb and a smart plug. Add a floor lamp from the same style family for visual cohesion. LightsThings’s guide to matching floor and table lamps makes that pairing straightforward.
Safety considerations when modifying your lighting setup
Most of the transition from overhead to ambient lighting involves plug-in fixtures, which carry no electrical risk beyond standard outlet safety. Replacing a bulb or adding a lamp is DIY-friendly at any skill level.
Dimmer switch installation is a step up. It requires turning off the circuit breaker, confirming the circuit is dead with a non-contact voltage tester, and connecting three wires (line, load, and ground). Most homeowners with basic tool comfort can handle a single-pole dimmer replacement in under 30 minutes. Three-way dimmer replacements (where a light is controlled from two switches) are more complex and worth a professional call if you’re uncertain.
Any work involving new circuits, new junction boxes, or panel modifications requires a licensed electrician and, in most jurisdictions, a permit. The NEC and local amendments govern all residential electrical work in the U.S. When in doubt, the cost of a licensed electrician for a single outlet or switch circuit is modest compared to the risk of unpermitted work.
How to evaluate your existing overhead fixtures
Before removing or replacing an overhead fixture, ask three questions. First, is it on a dimmer or can it be put on one? A fixture that accepts a dimmer switch becomes a useful ambient layer rather than a problem to solve. Second, what bulb type does it use? Fixtures designed for incandescent or halogen bulbs often accept LED retrofits directly, though some older fixtures with enclosed housings may trap heat and require open-rated LED bulbs.
Third, does the fixture’s style and scale suit the room? An oversized flush-mount in a small bedroom may be worth replacing with a smaller, more decorative option. A recessed can that’s already in the right position just needs a warm bulb and a dimmer. Repurposing is almost always cheaper than replacing, and most overhead fixtures can be converted to ambient-friendly sources with a bulb swap and a dimmer.
Choosing fixtures and lamps that work together
Visual cohesion comes from matching finish, scale, and style across your lighting layers. A brushed brass floor lamp pairs naturally with a brushed brass table lamp; mixing chrome and oil-rubbed bronze in the same room creates visual noise. You don’t need to match exactly, but staying within one metal family and one style register (modern, transitional, traditional) keeps the room feeling curated.
Scale matters as much as style. A floor lamp that’s too short disappears behind furniture; one that’s too tall overwhelms a low-ceilinged room. The shade diameter of a table lamp should generally be no wider than the surface it sits on. LightsThings’s guide to mixing modern and traditional lighting covers this in more detail for rooms with mixed-era furniture.
Layering rugs and textiles alongside your lighting layers also affects how light reads in a room. Lighter rugs reflect ambient light upward; darker rugs absorb it, which can make a room feel cozier but requires slightly more lamp output to compensate. Layering rugs with varied textures adds the same kind of depth to a floor plane that varied light heights add to a room’s vertical dimension.
Maintenance tips for your ambient lighting setup
LED bulbs in residential fixtures typically last 15,000–25,000 hours under normal use. At typical daily use, bulbs can last many years per bulb. In practice, replace bulbs when they start to flicker, dim noticeably, or shift color temperature, rather than on a fixed schedule.
Lamp shades collect dust faster than most people expect, and a dusty shade reduces light output and can slightly yellow the light color. Wipe fabric shades with a dry microfiber cloth monthly; clean glass or metal shades with a lightly damp cloth every few weeks. For floor lamps near high-traffic areas, check the cord and plug annually for any signs of wear or heat damage.
Dimmer switches occasionally need recalibration if a bulb replacement causes flickering at low settings. Most LED-compatible dimmers have a small trim screw on the side that adjusts the low-end threshold. Consult the dimmer’s manual before adjusting, and always turn off the circuit breaker first.
Key Takeaways
Layering at least four light sources with matched 2700K–3000K bulbs and a dimmer-controlled overhead is the fastest, most cost-effective way to move from flat overhead lighting to a warm, flexible ambient setup.
| Point | Details |
|---|---|
| Start with four sources | One dimmable overhead, two lamps, and one accent is the recommended minimum for most living rooms. |
| Match color temperature | Keep all bulbs in a single room within the 2700K–3000K range to avoid visual tension. |
| Dimmers are the highest-impact upgrade | An LED-compatible dimmer switch costs $15–$30 and changes how every other light in the room reads. |
| Vary lamp heights | Place sources at overhead, eye level, and low to eliminate flat, patchy light distribution. |
| LightsThings for the full setup | LightsThings’s floor and table lamp collections, paired with warm A19 bulbs, cover the complete starter and layered ambient setup. |
The thing most people get wrong about ambient lighting
Most homeowners approach this as a subtraction problem: remove the overhead, add softer light, done. That framing leads to rooms that feel dim and incomplete rather than warm and layered.
The real shift is about control and distribution, not brightness reduction. A well-layered room can actually produce more total light than an overhead-only setup, because multiple sources fill corners, eliminate shadows, and create a sense of depth that a single bright ceiling fixture never achieves. The overhead isn’t the villain. It’s just been doing all the work alone, and that’s the problem.
What I find consistently true is that the rooms people describe as “cozy” or “inviting” almost always have at least four light sources running at moderate output, matched color temperatures, and at least one source below eye level. None of that requires expensive fixtures or a renovation. A $60 floor lamp, a $15 dimmer, and the right bulb temperature will outperform a $400 pendant hung in an otherwise unlit room every time.
The other underestimated factor is the transition period itself. Give yourself two or three evenings to adjust lamp positions and dimmer levels before deciding the setup isn’t working. Light placement is iterative, and the difference between a lamp that’s six inches too far left and one that’s in the right spot is surprisingly large.
LightsThings has everything you need to get started
Ready to put the plan into action? LightsThings carries the full range of fixtures for a layered ambient setup, from accessible starter lamps to premium statement pieces, all in one place with free shipping on qualifying orders, easy returns, and financing options for larger purchases.
The floor and table lamp collection is the right starting point for most homeowners. You’ll find pairs that work together by style and finish, so you’re not guessing at visual cohesion. For decorative overhead options, the decorative lighting collection includes pendants and chandeliers that serve as dimmable ambient anchors rather than harsh single sources. If you want a statement overhead to anchor the room, the Crystal Chandelier Double Helix is worth a look as an upscale centerpiece.
Browse the collections, pick your two starter lamps, confirm the bulb specs, and you can have the first layer of your new setup running this weekend.
Useful sources and further reading
- What Is Ambient Light? Everything You Need to Know — Better Homes & Gardens overview of ambient lighting as general illumination and its role in residential design.
- Lighting Basics: How to Layer Light in Any Room — Practical layering guide covering the rule of four, dimmer installation, and source placement.
- Understanding Lighting: Why Direction and Temperature Matter More Than Fixtures — Explains how downlighting flattens rooms and why height variation restores visual depth.
- What Is Ambient Lighting? — Zillow’s accessible explainer on ambient lighting placement and the three-layer model.
- Layered Lighting Guide: Ambient, Task & Accent — Detailed guide on color temperature matching and common layering mistakes.
- The Art of Layering Lighting — Interior designer perspective on using multiple lower-intensity sources for flexible, mood-adaptable rooms.
- Ambient Light Installation: Safe & Expert — Technical installation guide for homeowners adding recessed lights, sconces, and LED strips; useful for DIYers considering hardwired upgrades.