Selecting lighting for high ceilings means choosing fixtures and layouts that overcome vertical distance to create balanced, functional, and visually engaging illumination. The core challenge is not brightness alone. Effective lighting in high-ceiling rooms is about creating hierarchy and orientation by controlling light distribution and contrast. Shadows, focal points, and contrast define how a room feels. A well-lit tall room uses layered sources, scaled fixtures, and precise beam control to make every zone feel intentional and alive.
What types of fixtures work best for high ceilings?
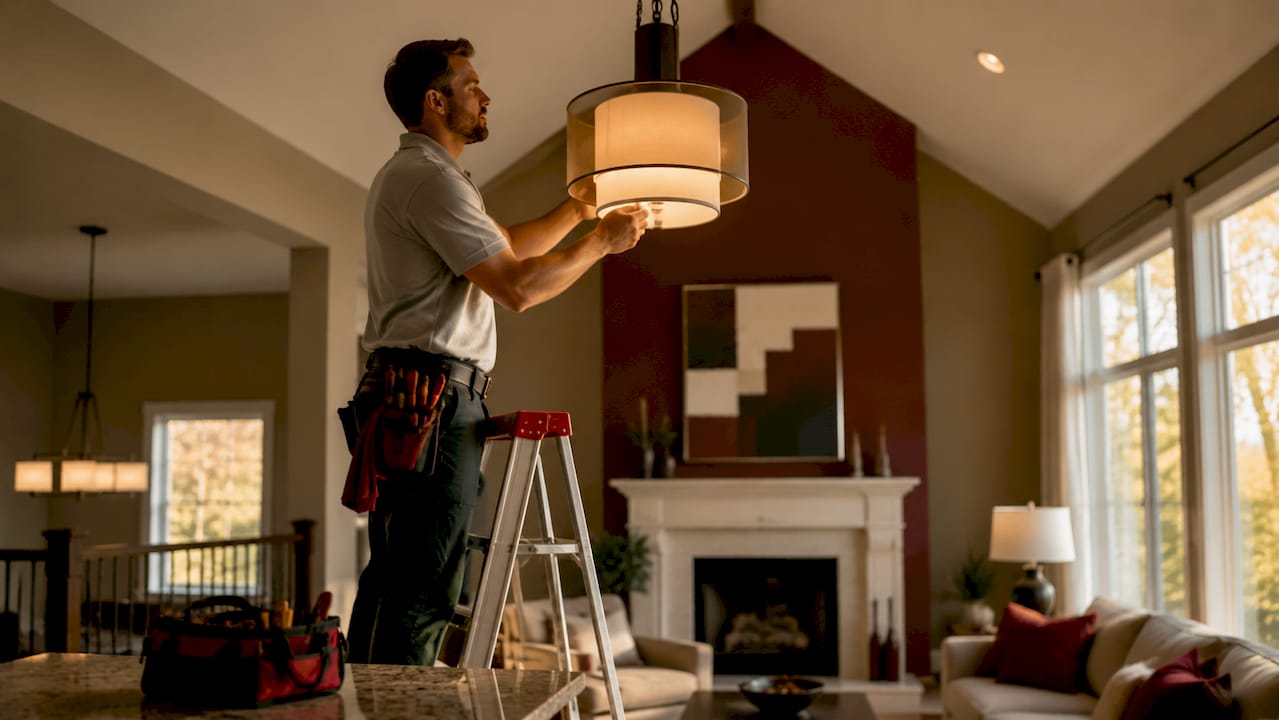
The right fixture for a tall room does more than illuminate. It anchors the space visually and delivers light where people actually live and work. Statement lighting pieces like chandeliers provide necessary visual anchors that define a room’s architectural axes. Each fixture category serves a distinct functional role.
- Chandeliers. Large-scale, multi-tier chandeliers are the most effective focal fixtures for rooms with ceilings above 10 feet. Their vertical presence fills the height naturally, and their diameter creates proportion against wide floor plans. A chandelier in a double-height living room or foyer signals the room’s center and draws the eye upward deliberately. You can find guidance on sizing a chandelier correctly before committing to a purchase.
- Pendant lights. Pendant lighting brings light closer to occupants, preventing the “lost light” effect common in very tall rooms. A cluster of pendants over a dining table or kitchen island creates a spatial reference point at eye level, making the room feel inhabited rather than cavernous.
- Recessed lighting. Recessed fixtures work well as ambient fill in tall rooms, but they require adjustment. Higher lumen output and narrower beam angles help light reach floor level effectively from greater heights. Spacing recessed lights closer together also prevents dark patches between fixtures.
- Wall washers and grazing lights. These fixtures illuminate vertical surfaces rather than floors. They activate the wall plane, add perceived depth, and prevent the upper half of a room from disappearing into shadow. A common mistake is lighting only the floor area, leaving upper walls and ceilings dark and making the room feel unfinished.
How do you layer lighting in tall rooms for depth and hierarchy?
Layered lighting is the professional standard for tall spaces. A single overhead source creates flat, uninteresting light regardless of its wattage. Combining four distinct layers produces the depth and visual hierarchy that makes a high-ceiling room feel curated rather than simply bright.
- Ambient lighting. This is your base layer. It provides general orientation and safety across the full floor area. In tall rooms, ambient light often comes from recessed downlights, a central chandelier, or a combination of both. The goal is even, comfortable coverage without harsh shadows.
- Vertical lighting. This layer addresses the walls and upper volume of the room. Wall washers, uplights, and sconces push light onto vertical surfaces, making the ceiling height feel intentional rather than empty. Activating the vertical dimension is what separates a professionally lit room from a well-lit one.
- Accent lighting. Accent fixtures highlight specific objects: artwork, architectural details, a fireplace surround, or a sculptural piece. Track lighting and adjustable recessed spots work well here. The contrast between lit and unlit areas creates visual interest and guides attention through the space. For more on this technique, the accent lighting guide for homeowners covers placement and fixture selection in detail.
- Decorative lighting. Decorative fixtures add atmosphere and personality. A sculptural pendant, an art-glass chandelier, or a cluster of globe lights contributes to the room’s style identity. These fixtures do not need to be the brightest sources. Their job is to create warmth and visual texture.
Once you have all four layers in place, control matters. Dimmers and zoned switches let you shift the room’s mood from bright and functional to warm and intimate without changing a single fixture.
Pro Tip: Install each lighting layer on a separate dimmer circuit. This gives you precise control over the room’s atmosphere at any time of day without rewiring later.
What technical factors matter when choosing fixtures for tall spaces?
Technical precision separates a lighting plan that looks good on paper from one that performs in a real room. Luminaires need controlled luminous flux and narrow beam angles to ensure light reaches usable activity levels without glare. Four factors deserve close attention.
Beam angle is the most critical variable in tall rooms. A narrow beam (15–25 degrees) concentrates light on a specific target and maintains illuminance at floor level from a ceiling 12 or 14 feet up. A wide flood beam (60+ degrees) spreads light broadly but loses intensity over distance, resulting in dim, washed-out coverage. Use narrow beams for accent and task zones, and reserve wider beams for ambient fill at lower mounting heights.
Luminous flux (lumens) must compensate for the extra distance light travels. A fixture that performs well at 8 feet may be inadequate at 14 feet. Select luminaires with higher lumen ratings than you would for a standard room, and check the fixture’s candela distribution chart if available.
Glare control protects comfort. Glare is managed by selecting luminaires with good UGR values and careful beam angle design. In large-volume rooms, poorly shielded fixtures create uncomfortable hot spots that draw the eye away from the room’s design features. Look for fixtures with deep-set lenses, baffles, or frosted diffusers.
Color temperature shapes the mood and how materials read. Warm white (2700K–3000K) suits living rooms, dining areas, and bedrooms. Cool white (3500K–4000K) works better in kitchens and workspaces. Consistency across layers matters: mixing 2700K pendants with 4000K recessed lights creates a disjointed, unsettled feel.
| Factor | Recommended range | Why it matters |
|---|---|---|
| Beam angle (accent) | 15–25 degrees | Maintains illuminance at floor level from height |
| Beam angle (ambient) | 40–60 degrees | Provides even coverage without harsh cutoff |
| Color temperature | 2700K–3000K (residential) | Creates warmth and renders materials accurately |
| Glare rating (UGR) | Below 19 | Prevents discomfort in large, open volumes |
Pro Tip: Always check a fixture’s lumen output at the actual mounting height, not just the spec sheet total. Illuminance drops with distance, and a fixture rated for standard ceilings may underperform at 12 feet or higher.
How do you plan and install lighting in a high-ceiling room step by step?
A clear planning sequence prevents the most common and costly mistakes: undersized fixtures, uneven coverage, and light that gets “lost” in the upper volume.
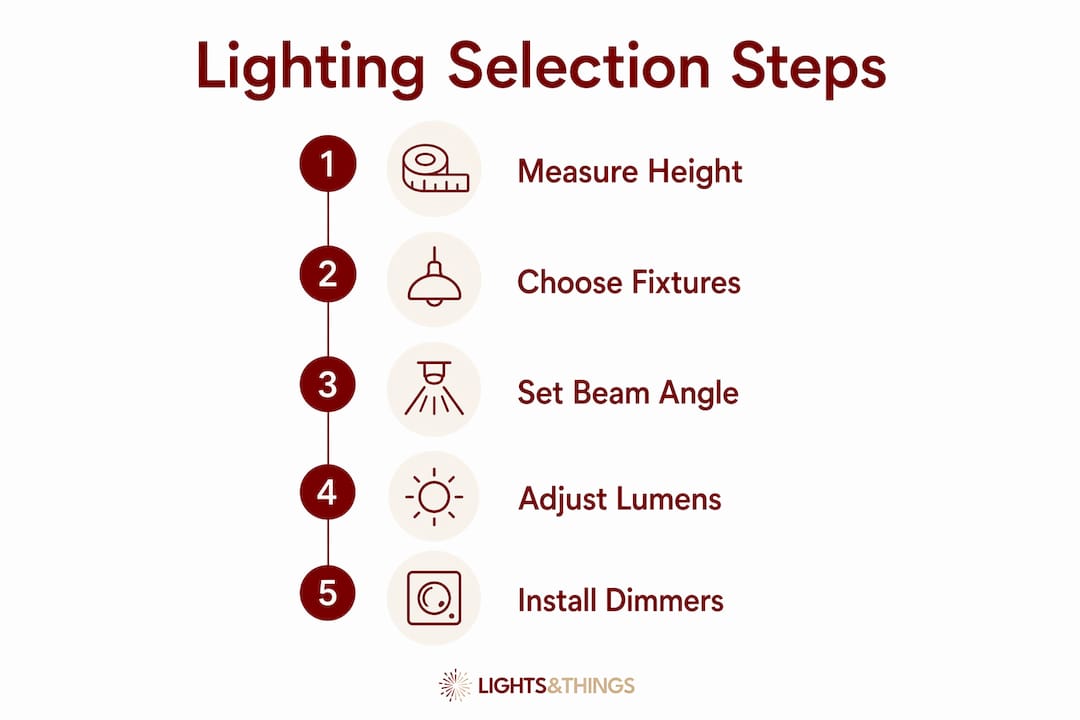
- Assess the room. Measure ceiling height, floor area, and identify activity zones. A 20-foot-wide living room with a 14-foot ceiling needs a very different plan than a narrow entryway with a 16-foot ceiling. Note where people sit, cook, read, or gather.
- Choose your anchor fixture first. Select the chandelier or primary pendant before anything else. This fixture sets the scale for everything around it. For a room with a ceiling between 10 and 12 feet, hang the bottom of the fixture at least 7 feet above the floor in open areas. Add roughly 3 inches of hanging length for every additional foot of ceiling height above 8 feet.
- Plan the ambient layer. Map recessed fixtures or cove lighting to fill the floor area evenly. In tall rooms, space recessed lights closer together than standard guidelines suggest, and select fixtures with higher lumen output.
- Add vertical and accent layers. Place wall washers to activate the upper walls. Position adjustable accent spots to highlight art, shelving, or architectural features. These layers define the room’s visual hierarchy.
- Assign controls. Put each layer on its own dimmer switch. This step costs little during installation and pays back every time you use the room.
Lighting in a tall room should feel like it belongs to the architecture, not like it was added afterward. When the layers work together, the room’s height becomes an asset rather than a problem.
A quick reference for hanging heights by ceiling height:
| Ceiling height | Minimum fixture clearance | Suggested drop length |
|---|---|---|
| 9 feet | 7 feet from floor | 18–24 inches |
| 10–12 feet | 7.5 feet from floor | 24–36 inches |
| 14–16 feet | 8 feet from floor | 36–60 inches |
| 18+ feet | 8.5 feet from floor | 60+ inches or tiered |
For a deeper look at the full planning process, the ceiling lighting design guide walks through layout strategies room by room.
Key Takeaways
Selecting lighting for high ceilings requires scaled fixtures, layered sources, and technically matched beam angles to prevent lost light and create a visually grounded space.
| Point | Details |
|---|---|
| Scale fixtures to the room | Choose chandeliers and pendants with diameter and vertical presence proportional to ceiling height. |
| Layer four light types | Combine ambient, vertical, accent, and decorative sources to create depth and visual hierarchy. |
| Match beam angle to height | Use 15–25 degree beams for accent work and higher lumen output for ambient fill at tall mounting heights. |
| Control glare with UGR ratings | Select fixtures rated below UGR 19 to prevent discomfort in large, open volumes. |
| Use dimmers on every layer | Separate dimmer circuits give you full control over mood and function without rewiring. |
What I’ve learned from lighting rooms that feel too tall
By Norm Blain
The most common mistake I see in high-ceiling rooms is treating the space like a brightness problem. Homeowners install more fixtures, choose higher wattage, and still end up with a room that feels cold and unresolved. The issue is almost never the quantity of light. It is the absence of structure.
A tall room without vertical lighting is like a painting with no background. The floor gets lit, the furniture gets lit, and everything above shoulder height disappears. That upper volume is not empty space to ignore. It is the room’s most powerful design asset. Wall washers and uplights that graze the wall surface make the ceiling height feel deliberate rather than accidental.
The second thing I have learned is that statement fixtures earn their place not just aesthetically but functionally. A large chandelier in a double-height foyer does something a recessed grid cannot: it gives the eye a place to land. Lighting should be seen as the key design element in high-ceiling rooms, balancing scale and spatial perception. That is not a decorating opinion. It is a spatial reality.
My practical advice: start with the anchor fixture, build the layers outward, and never skip the dimmers. A room you can adjust is a room you will actually enjoy living in.
— Norm Blain
LightsThings has the fixtures your tall room needs
Finding the right fixture for a tall room takes more than browsing a general catalog. You need fixtures with the scale, drop length, and lumen output to perform at height.

LightsThings carries a curated selection of decorative ceiling lighting designed for residential spaces where proportion and style both matter. From multi-tier chandeliers built for double-height foyers to statement pendants scaled for loft living, the collection covers the full range of high ceiling light options. For upscale spaces that call for a true focal piece, the premium lighting collection includes fixtures priced to match the ambition of the room. Free shipping, easy returns, and financing options make it straightforward to invest in lighting that genuinely fits your space.
FAQ
What size chandelier works best for a high ceiling?
Choose a chandelier diameter (in inches) that roughly equals the room’s width and length added together in feet. For ceilings above 10 feet, add 3 inches of drop length for every foot of ceiling height above 8 feet.
How do I prevent “lost light” in a tall room?
Use pendant lights and chandeliers to bring light down to activity level, and select recessed fixtures with narrow beam angles and higher lumen output to maintain illuminance at floor level from greater heights.
What beam angle should I use for high ceiling recessed lights?
A 15–25 degree beam angle works best for accent and task lighting in tall rooms. For ambient fill, a 40–60 degree beam provides even coverage without losing too much intensity over the longer distance.
What color temperature is right for a high-ceiling living room?
Warm white at 2700K–3000K suits most residential living spaces. It renders wood, fabric, and stone accurately and creates a welcoming atmosphere that works across all four lighting layers.
Do I need dimmers for high-ceiling lighting?
Dimmers are the single most practical upgrade in a tall room. Installing each lighting layer on a separate dimmer circuit lets you shift from bright functional light to warm ambient light without changing any fixtures.